A customer of mine has made a repeat order for some pigeonhole style storage units for retail display so I thought I would share a bit about how I decided to construct them. There is really only one difficulty these pigeonholes present - they are pretty standard in every other way. Im just going to say a little bit about the options I went through, and share some photos.
The issue is with the meeting points of the horizontals and the verticals, I could have chosen to use simple butt joints here. Assuming the vertical parts are full height, the horizontals can simply be cut between them, alignment of the horizontals doesn't need to be a problem because a spacer cut from an off cut of MDF would be an easy enough solution. The problem is I don't like to toenail fix, it limits the length of pins or screws I could have used and comes with the risk that I would miss completely and send a pin straight out of the other side of the vertical without contacting the horizontal. Ok I could pull it out and try again, but with this many to do I could spend ages looking for miss-fires, its also not that strong a connection and relies mainly on the glue.
I guess I could also have made these as interlocking pieces, so both the horizontals and the verticals would be full length and I would have taken material out so that they fitted together. Maybe I would have considered this more if they were smaller units, I think it would have been difficult to have been accurate enough with all the cuts to make this work.
Anyway I decided on sliding dovetails, the angles of the joints will lock the horizontals into the verticals, and I can add a bit of glue in assembly. The biggest challenge with this method is placing the grooves in the uprights accurately. For this I stacked all the uprights together and marked the centre of the shelf positions on the top upright, then I squared down with a large square marking all the uprights together. I then made a quick and dirty jig which aligned with this centre mark.

Heres the grooving jig clamped to one of the uprights (jig is on top) The router runs along the edge of the jig and the side fence extends to the centre line of the dovetail bit, allowing me to line it up to the marks on the side of the uprights.
Shelves stacked together, all of the ends were cut on a router table, vertically against the fence. The fence is adjusted to get a tight fit through trial and error.

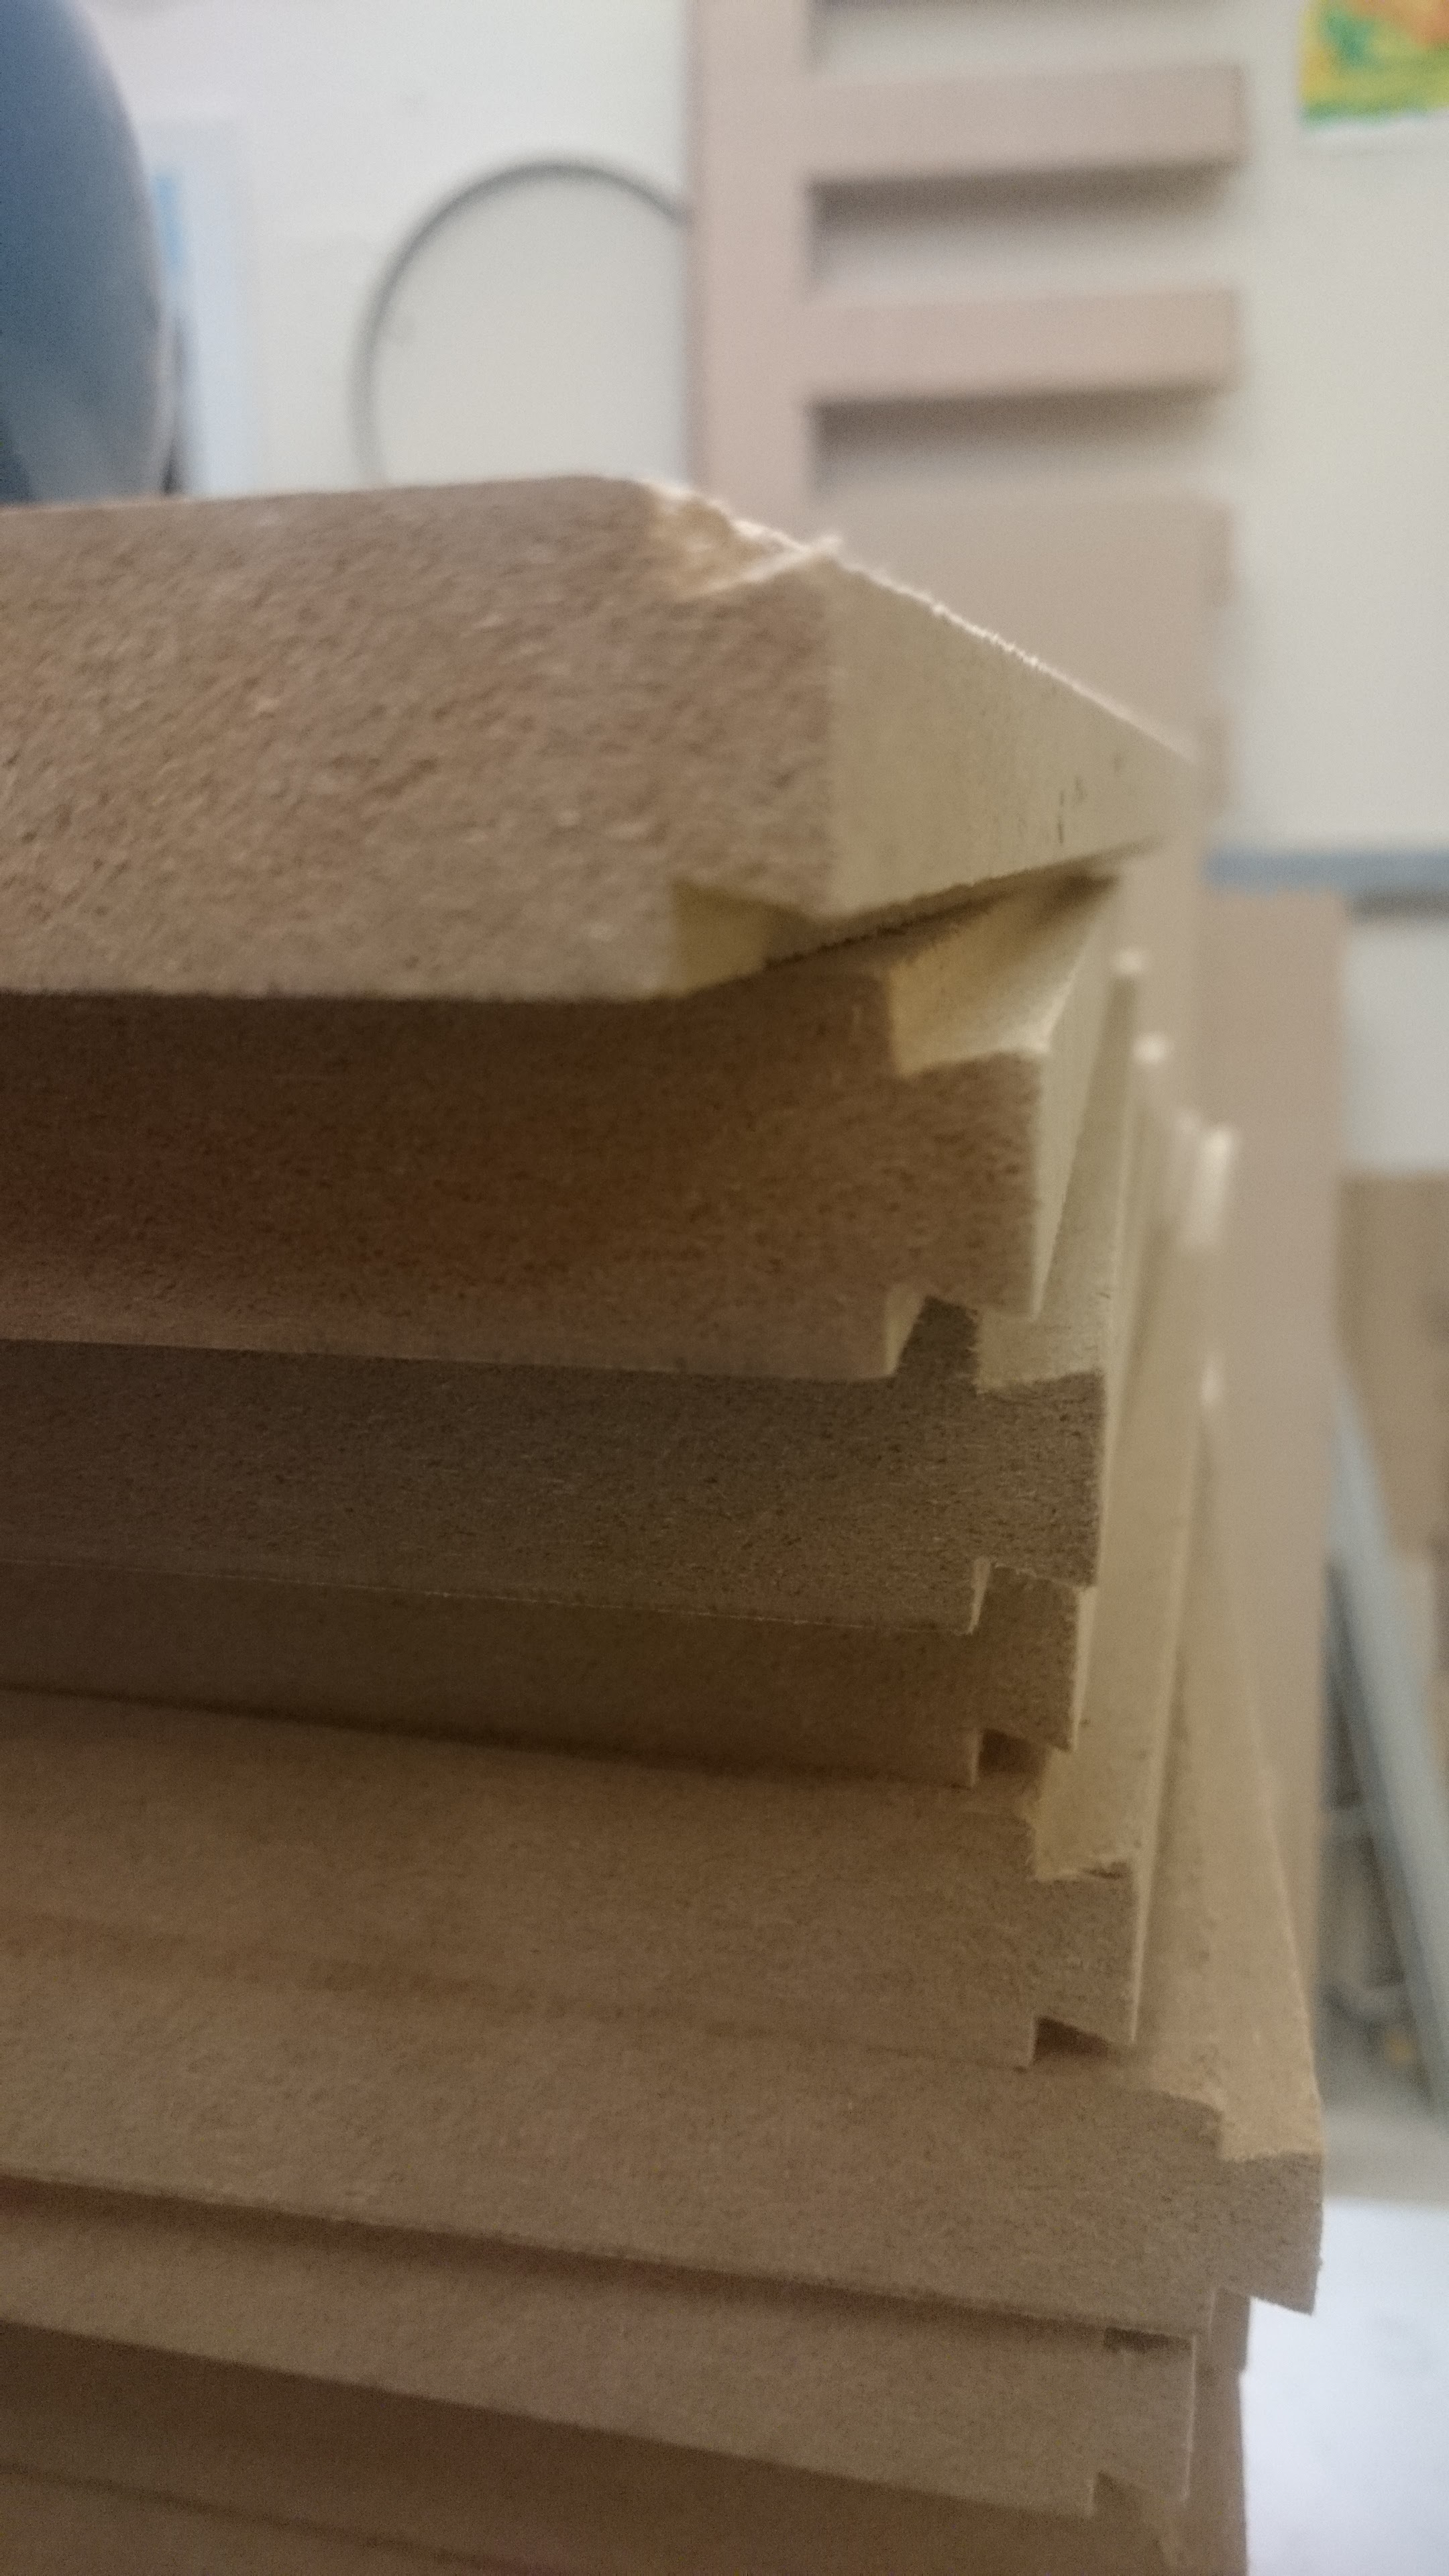
Here is one of the many meeting points of the sliding dovetails

Here is one of the assembled units. You can see that I have started adding the timber trim to cover the edges of the MDF.